 KELIBRON
 Reading calipers
Dial indicators
A dial indicator turns a small movement of its plunger into a large movement of a pointer: on the common 0.01 mm indicator, 1 mm of travel turns the pointer once round 100 divisions. It reads a difference, so it is used in a stand, zeroed on a reference and then moved to the part.
On this page
How it works
A rack on the plunger drives a gear train that turns the pointer. On the common indicator the dial has 100 equal divisions and 1 mm of plunger travel turns the pointer once, so one division is 0.01 mm. Common measuring ranges are 0–3, 0–5 and 0–10 mm. Indicators with 0.001 mm divisions are also made (in Chinese, 千分表) (textbook: 金莹, 公差配合与技术测量).
In China dial indicators are specified in GB/T 1219-2008 (Dial gauges); internationally in ISO 463.
Reading
Read the number of divisions the pointer has moved from zero and multiply by the division value: 37 divisions on a 0.01 mm indicator is 0.37 mm. On a 0.01 mm indicator each whole revolution is 1 mm. Turning the bezel moves the scale under the pointer, so any position can be set to zero.
Setting up
- Clamp the indicator in a stand, for example a magnetic base.
- Set the plunger along the direction of the size you measure: the indicator reads only the travel of its own plunger.
- Bring it onto the reference (a gauge-block stack or a master part) until it is pushed in a little, for example 0.2–0.5 mm (20–50 divisions), so it can read both above and below.
- Turn the bezel to zero.
- Move the part under the plunger and read the difference from the reference, with its sign.
The preload of 0.2–0.5 mm is the figure the textbook gives for setting a bore gauge; check the indicator’s own instructions.
Planned for the lab
Dial indicators are planned for KELIBRON (intake group G2). Until then, practise the shared basics on a caliper: clean faces, a checked zero, a square position and reading to the scale interval.
References
- 金莹 主编,《公差配合与技术测量》,清华大学出版社,2014(2024 年第 4 次印刷),ISBN 978-7-302-37145-8 (cited by number; no public page) · 清华大学出版社
- GB/T 1219-2008《指示表》 · 国家质量监督检验检疫总局、国家标准化管理委员会
- ISO 463 — Geometrical product specifications (GPS) — Dimensional measuring equipment — Design and metrological characteristics of mechanical dial gauges (cited by number; no public page) · ISO
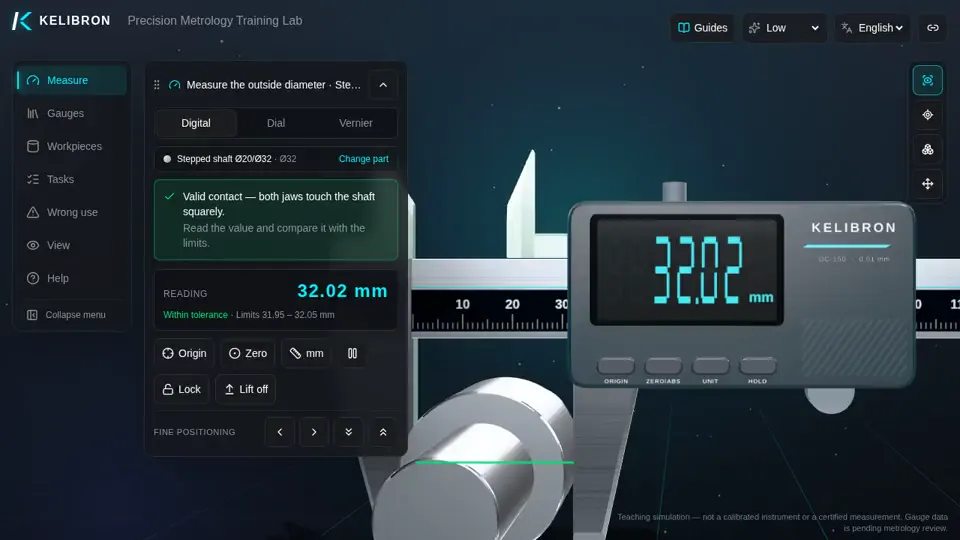
Practise the shared basics on a caliper
Questions
How much is one division on a dial indicator?
On the common dial indicator, 0.01 mm: 100 divisions per revolution and 1 mm of plunger travel per revolution. Dial gauges with 0.001 mm divisions are also made.
Why preload a dial indicator?
So it can read in both directions from the reference: a part a little smaller than the reference then still touches the plunger.
Practise the basics first
Cleaning, zero checks, square positioning, light even force and reading to the scale interval are the same on every instrument; practise them in a caliper scene.
Related guides
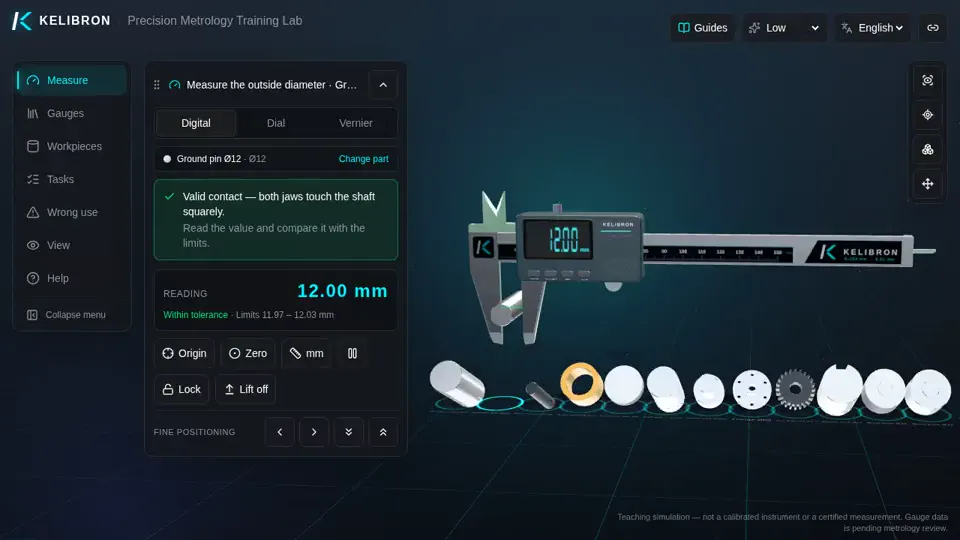 Measurement basicsRecording readingsWrite a reading with every digit the instrument resolves, trailing zeros included, and with its unit.
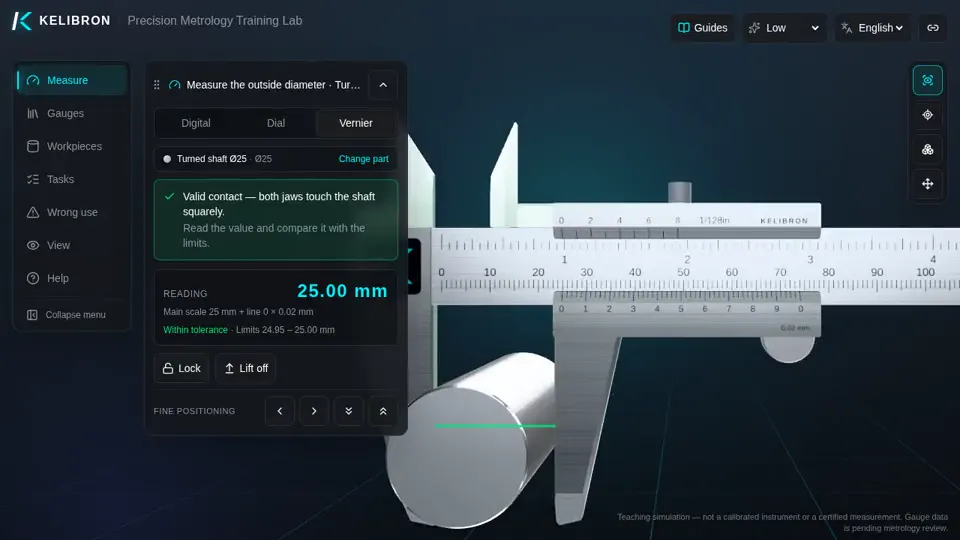 Reading calipersHow to read and use a caliperCheck zero with the jaws closed, hold the part deep in the jaws and square to the beam, close with light, even force, then read: on a vernier, the main-scale millimetres plus the coinciding line × 0.02 mm; on a dial, millimetres plus the needle’s hundredths; on a digital caliper, the display.
 Measurement basicsMeasuring methodsA direct measurement reads the wanted size straight off the instrument; an indirect one calculates it from other measured sizes; a comparative one measures only the difference from a standard of known size.