 KELIBRON
 Teaching and certification
Measuring skills for certification and competitions
Practical assessments mark not only the size of your part but how you measure it: check the instrument, clean and zero it, use the right technique for each feature, read to the resolution, record, judge against the tolerance and put the instrument away properly. Your assessing body’s criteria always apply.
On this page
The usual checkpoints
- Choose a suitable instrument for the tolerance and check its calibration label.
- Clean the faces and the part; deburr.
- Check or set zero.
- Outside: part deep in the jaws, square to the beam, light even force, rock gently for the minimum.
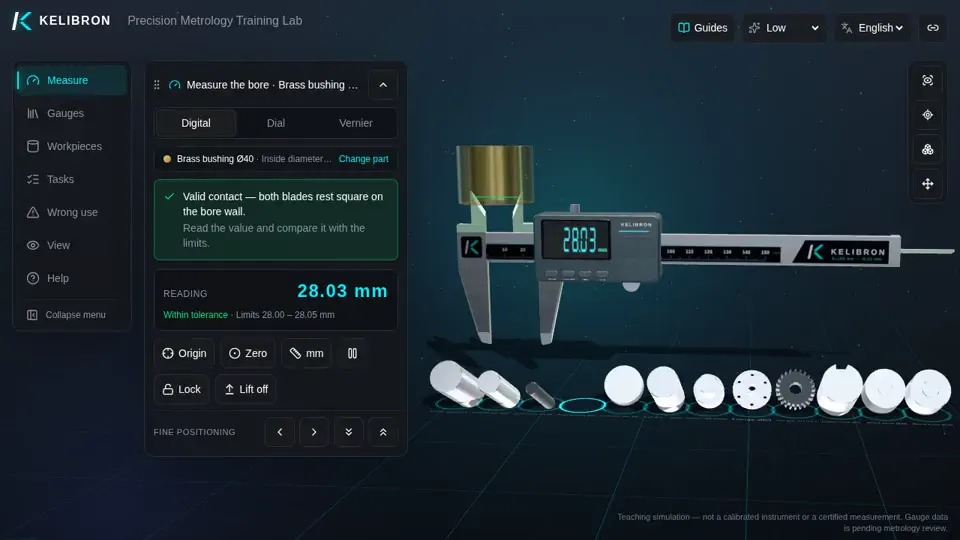
- Inside: jaws fully in, across the centre; rock across the bore for the maximum and along the axis for the minimum.
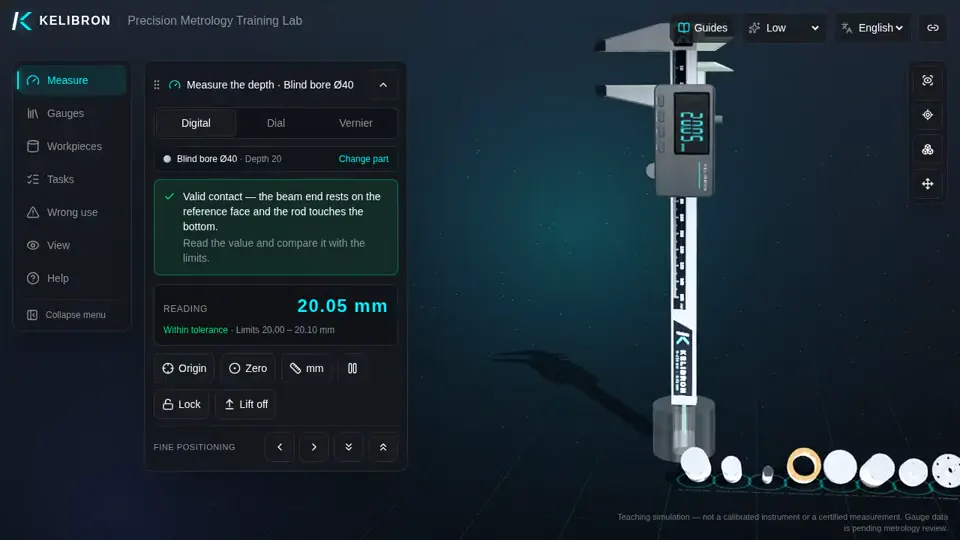
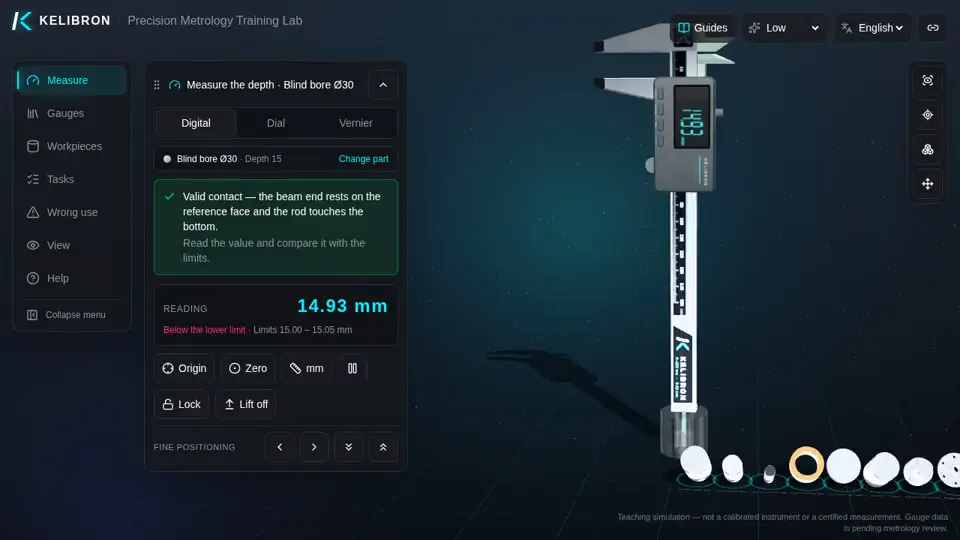
- Depth: beam end flat on the reference face, rod square.
- Read to the resolution, several places on the feature; write the value with its unit.
- Judge against the limits and mark pass/fail.
- Clean the instrument, release the lock, return it to its case.
Mistakes that cost marks
Measuring on a dirty or burred part, skipping the zero check, tilted jaws, measuring with the jaw tips, squeezing too hard, reading at an angle, writing too many or too few decimals, measuring a hot part straight from the machine, and leaving instruments among chips. KELIBRON demonstrates four of them — tilted jaws, an unchecked zero, a chip on the jaws and too much force — and shows how each changes the reading.
Practising with KELIBRON
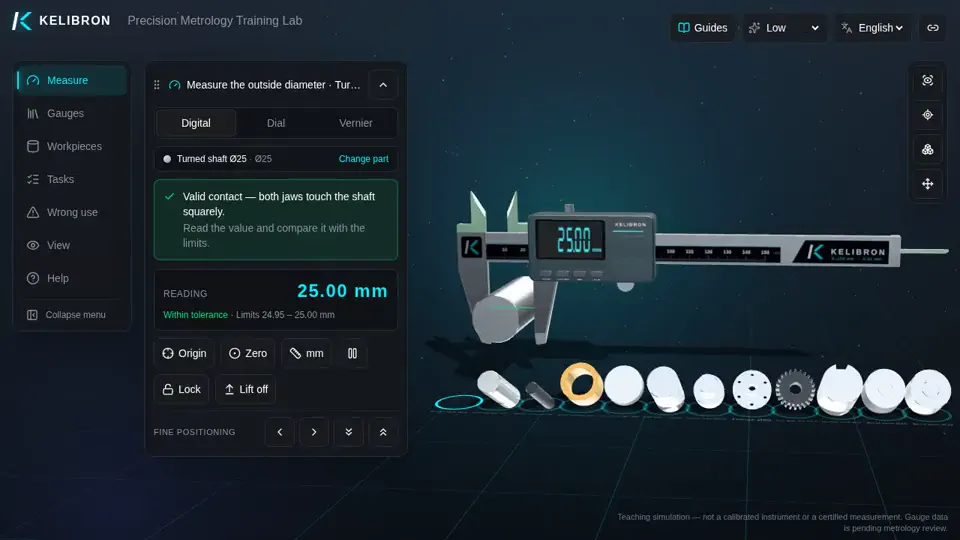
Rehearse the routine on the digital, dial and vernier calipers with outside, bore and depth tasks; use the parts made out of tolerance to train the pass/fail decision; then repeat the routine on real instruments.
Watch it done
Played back in the lab from domain commands; the reading and verdict come from the measurement model.
Practise in the lab
Questions
Do assessors check how I measure, or only the result?
Many practical assessments also mark the method, safety and instrument care. Read your assessing body’s criteria.
How many decimals should I write?
To the instrument’s resolution: two decimals in millimetres for 0.01/0.02 mm calipers (a 0.02 mm vernier always ends in an even digit).
Try it yourself
Open the same setup in the 3D lab and take the reading yourself.
Related guides
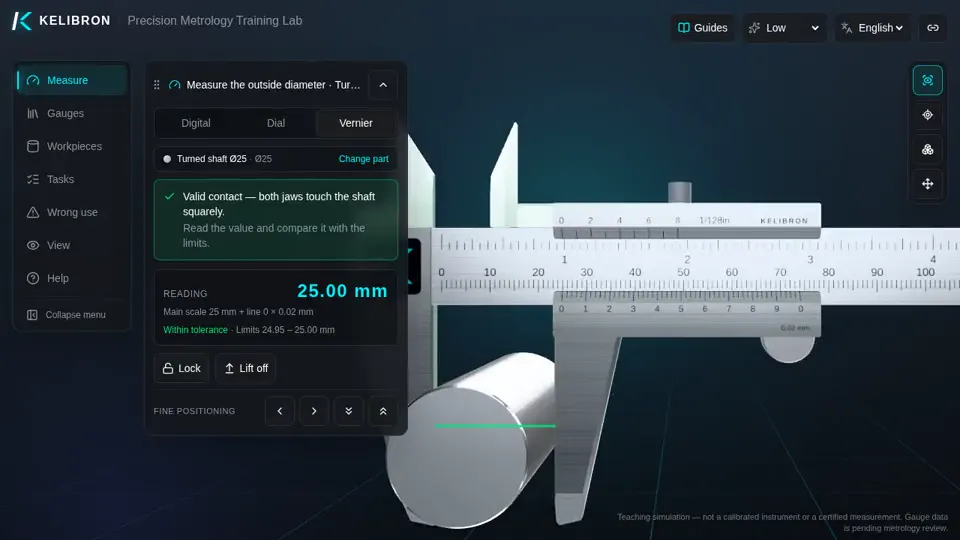 Reading calipersHow to read and use a caliperCheck zero with the jaws closed, hold the part deep in the jaws and square to the beam, close with light, even force, then read: on a vernier, the main-scale millimetres plus the coinciding line × 0.02 mm; on a dial, millimetres plus the needle’s hundredths; on a digital caliper, the display.
- Reading calipersPhysics practical: length measurementA vernier caliper reads to its least count (0.1, 0.05 or 0.02 mm) with no estimation; a micrometer screw gauge reads to 0.01 mm; some curricula (for example Chinese senior-high physics) add one estimated digit (0.001 mm) — follow your syllabus.
 Measuring methodsMeasuring common partsMeasure every diameter at several places along the part and in two directions 90° apart; the spread reveals taper and out-of-round.