KELIBRON
Reading a dial indicator
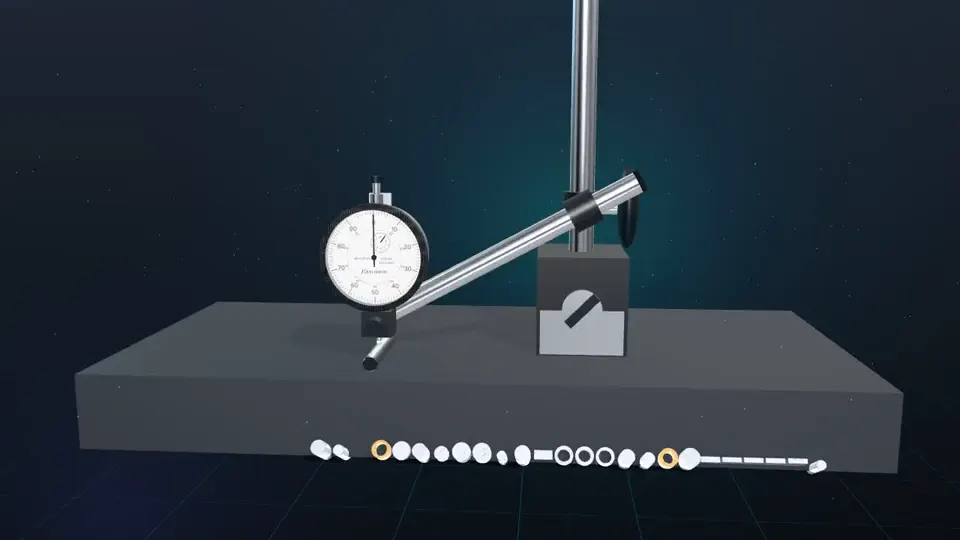
Reading a dial indicator: a 52-second reenactment recorded in the KELIBRON 3D lab, with English captions. The steps below are the captions in order, and you can do the same measurement yourself in the lab.
What happens in the video
- 0:00 Reading a dial indicator
- 0:05 Slide the stand beside the part and lower the tip until it just meets the bare plate.
- 0:10 Lower the indicator about one turn further: the stem is now pressed in and can read both ways.
- 0:15 Turn the bezel until the needle sits on 0. The plate is the reference.
- 0:20 Lower the indicator 1 mm more: the plate pushes the stem in 1 mm and the long needle makes one full turn. One turn is 1 mm, one division 0.01 mm.
- 0:26 Back to the zero height: the needle returns to 0.
- 0:30 Lift the stem, slide the stand until the tip is over the crest of the rod, and let the tip down. The stand height stays where it was zeroed.
- 0:35 Read while the tip is still on the part. Zeroed on the plate, the indicator reads the crest's height above it, which is the diameter: 8.00 mm. That is a reading, not a verdict: for a tight tolerance, zero on a gauge block of the nominal size and compare.
- 0:41 Read over many turns, the indicator’s own error over its range enters the result. For a tight tolerance, zero on a gauge block of the part’s size.
In the course
- Dial indicators and comparative measurement · Dial indicators — Read a dial indicator and set it up in a stand.